Python AI Drawing
This article introduces how to build your own AI drawing tool based on development APIs or open-source libraries.
Text-to-Image API
Section titled “Text-to-Image API”With the Text-to-Image API, you can create entirely new original images based on text descriptions.
Alibaba Cloud Bailian provides two major model series:
- Qwen-Image: Excels at rendering complex Chinese and English text. This chapter uses this as an example.
- Tongyi Wanxiang (Wan series): Used for generating realistic images and photographic-level visual effects.
Install the DashScope Python SDK by running the following command:
You need to activate the Alibaba Cloud Bailian model service and obtain an API-KEY.
First, visit the Bailian model service platform using your Alibaba Cloud primary account: https://bailian.console.aliyun.com/, then click the login button in the upper right corner. After logging in, click the gear ⚙️ icon in the upper right corner, select API key, and then copy the API key. If you don’t have one, you can create an API key:
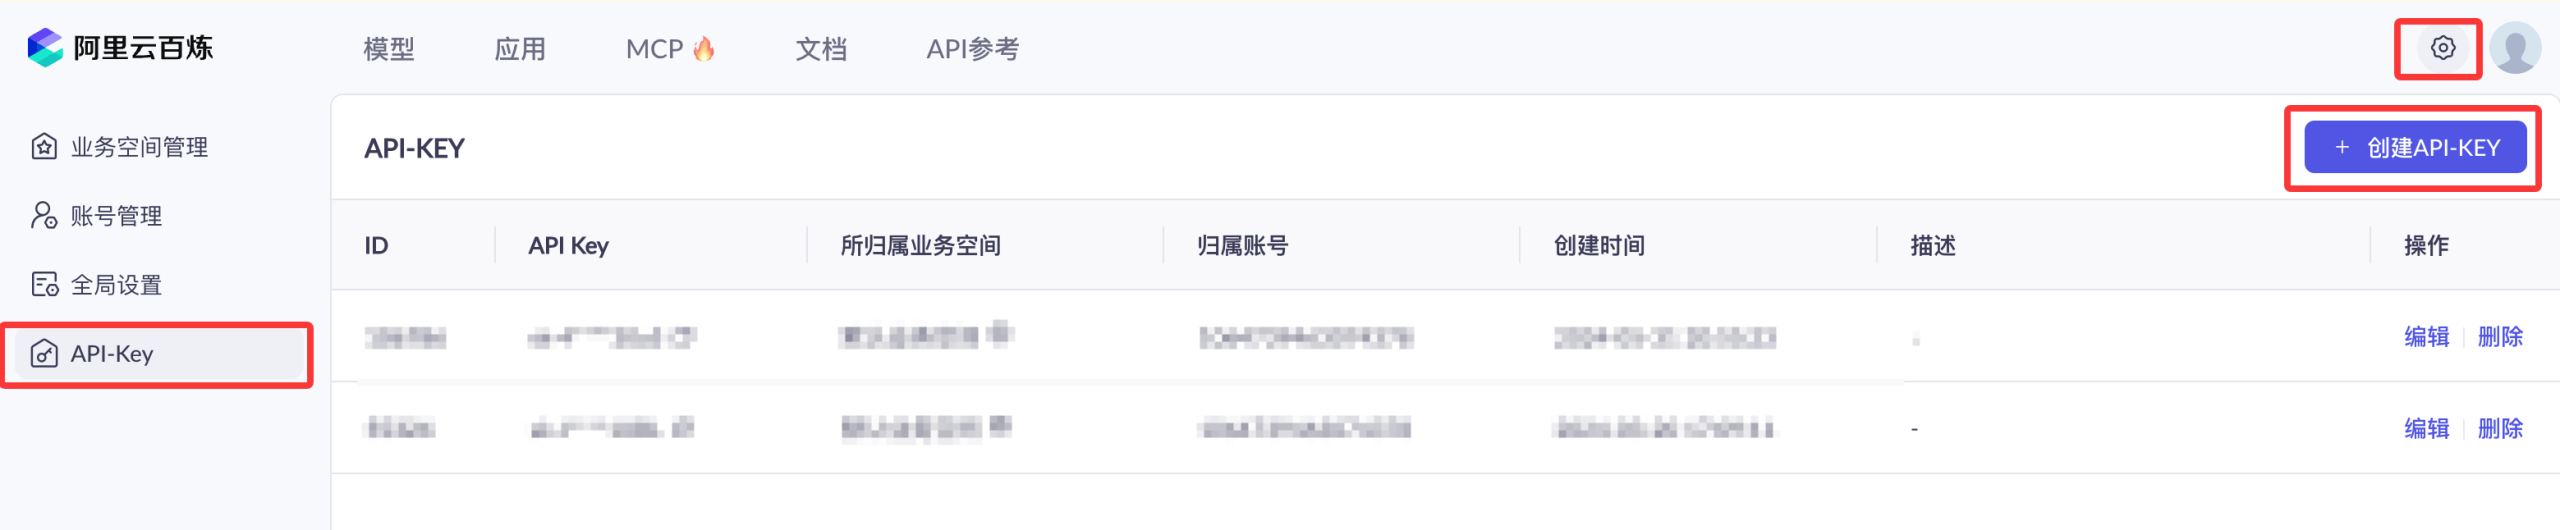

Activating Alibaba Cloud Bailian does not incur charges. Only model calls (beyond the free quota), model deployment, and model fine-tuning will generate corresponding billing.
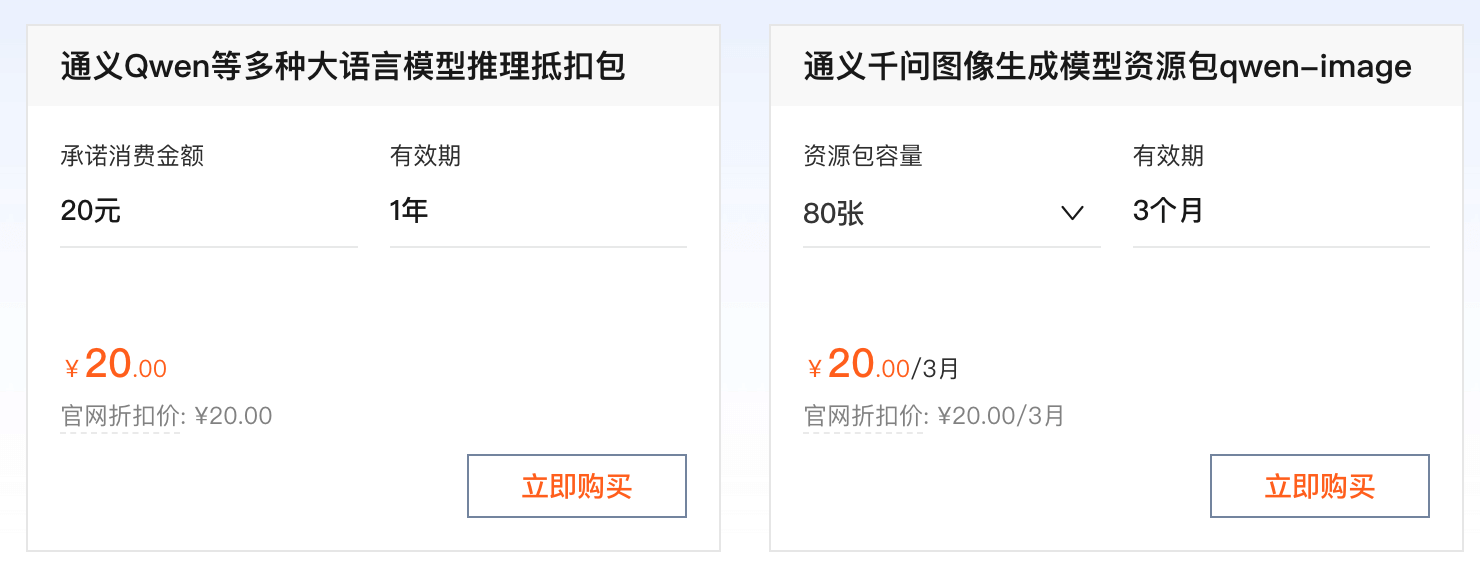
Now, to use the API, you need to pay by token. Fortunately, it’s not expensive. You can purchase the cheapest package first: Alibaba Cloud Bailian Large Model Service Platform.
Next, we generate images by setting prompts:
Example
Section titled “Example”The output result will be similar to the following. You will see a url parameter; visiting it allows you to download the image described by the prompt:
The image generated by the above example is as follows:
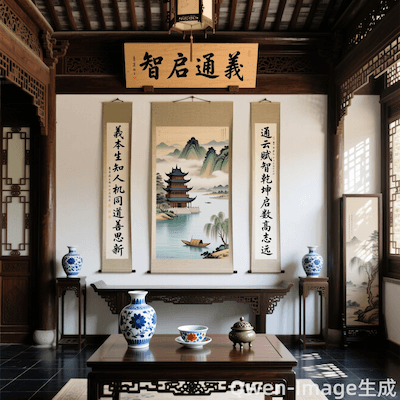
For more information, refer to the official documentation: https://help.aliyun.com/zh/model-studio/text-to-image
Stable Diffusion
Section titled “Stable Diffusion”The open-source library needed is Stable Diffusion web UI, which is a browser interface for Stable Diffusion based on the Gradio library.
Stable Diffusion web UI GitHub address: https://github.com/AUTOMATIC1111/stable-diffusion-webui
Running Stable Diffusion requires relatively high hardware requirements and consumes significant resources, especially the graphics card.
Windows Environment Installation
Section titled “Windows Environment Installation”The local environment requires Python 3.10.6 or above, and it must be added to the system environment variables.
Download the Stable Diffusion web UI source code from GitHub: https://github.com/AUTOMATIC1111/stable-diffusion-webui.
If Git is not installed, you can download the zip archive from the upper right corner.
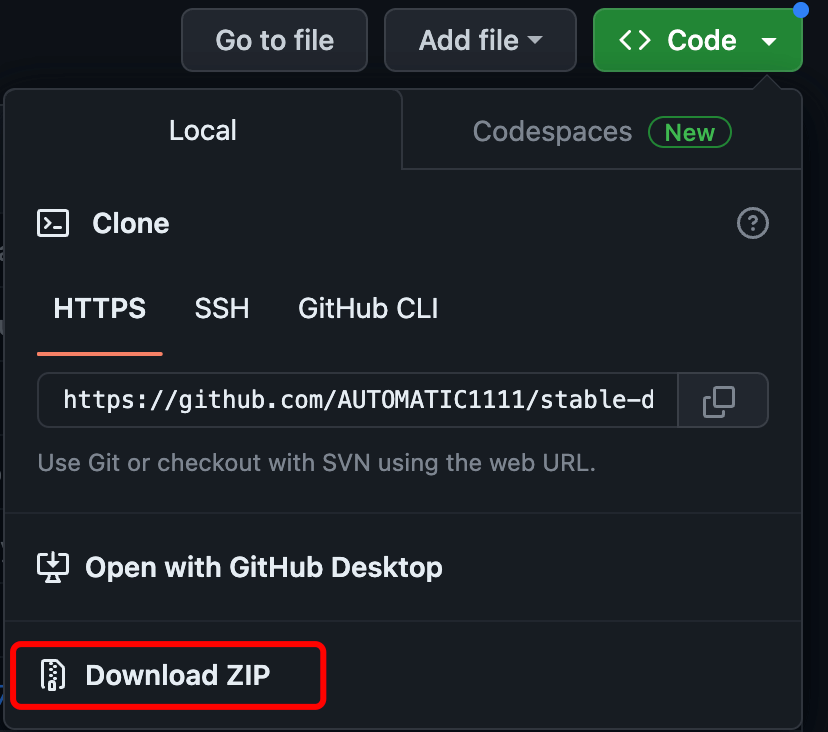
Extract stable-diffusion-webui and enter the stable-diffusion-webui directory.
Next, we need to download the model from: https://huggingface.co/CompVis/stable-diffusion-v-1-4-original
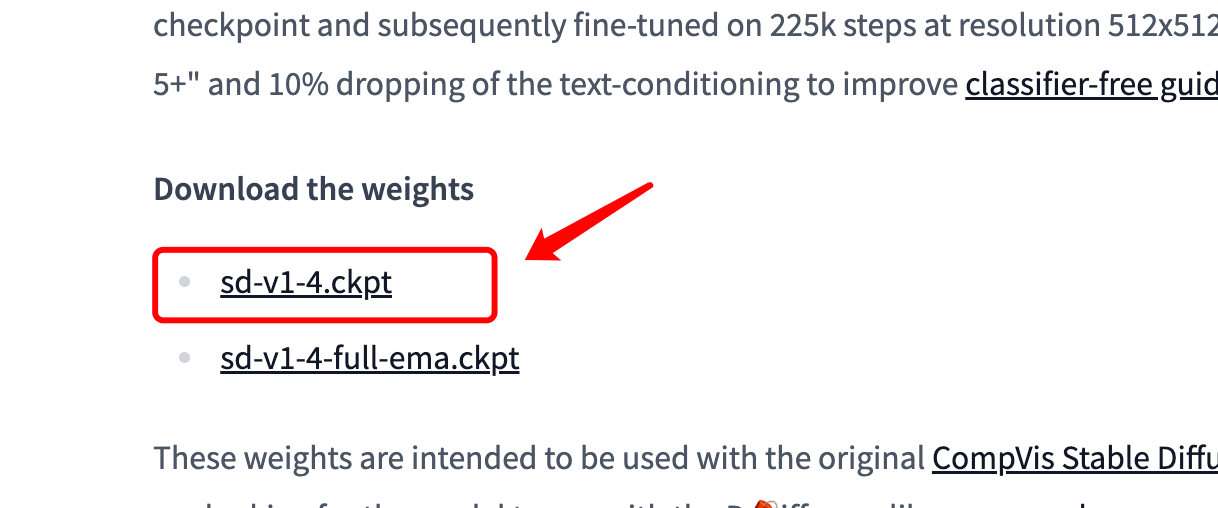
Move the downloaded model to the stable-diffusion-webui/models/Stable-diffusion directory.
Enter the stable-diffusion-webui directory:
For Windows, run as non-administrator:
For Linux and Mac OS environments, execute the following command:
The program will then automatically install and start. Upon successful startup, you will see an accessible URL address http://127.0.0.1:7860:
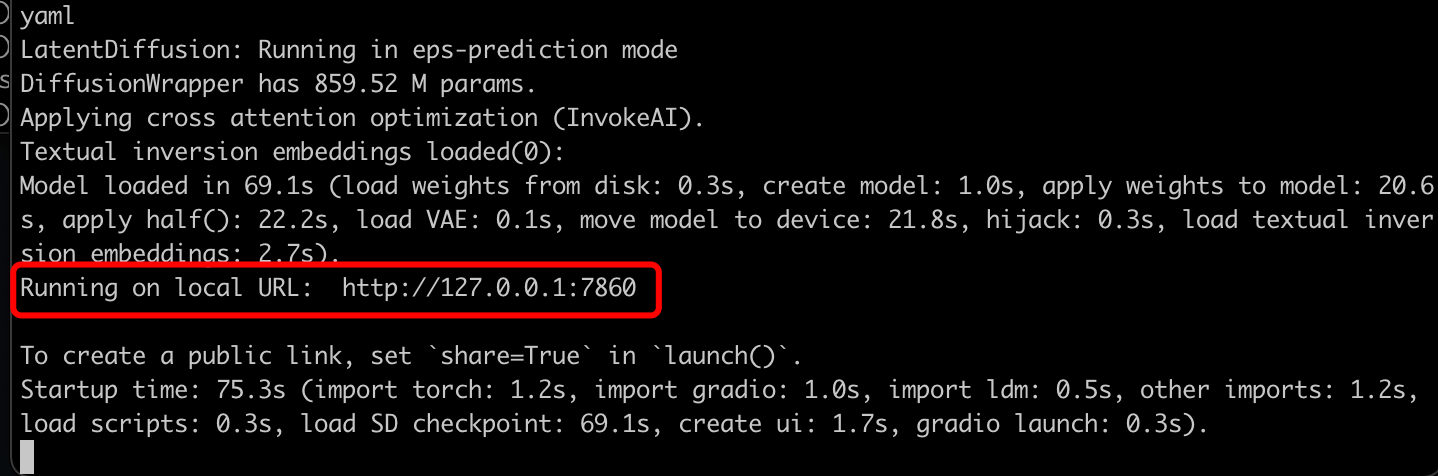
Visit http://127.0.0.1:7860, and the interface is as follows:
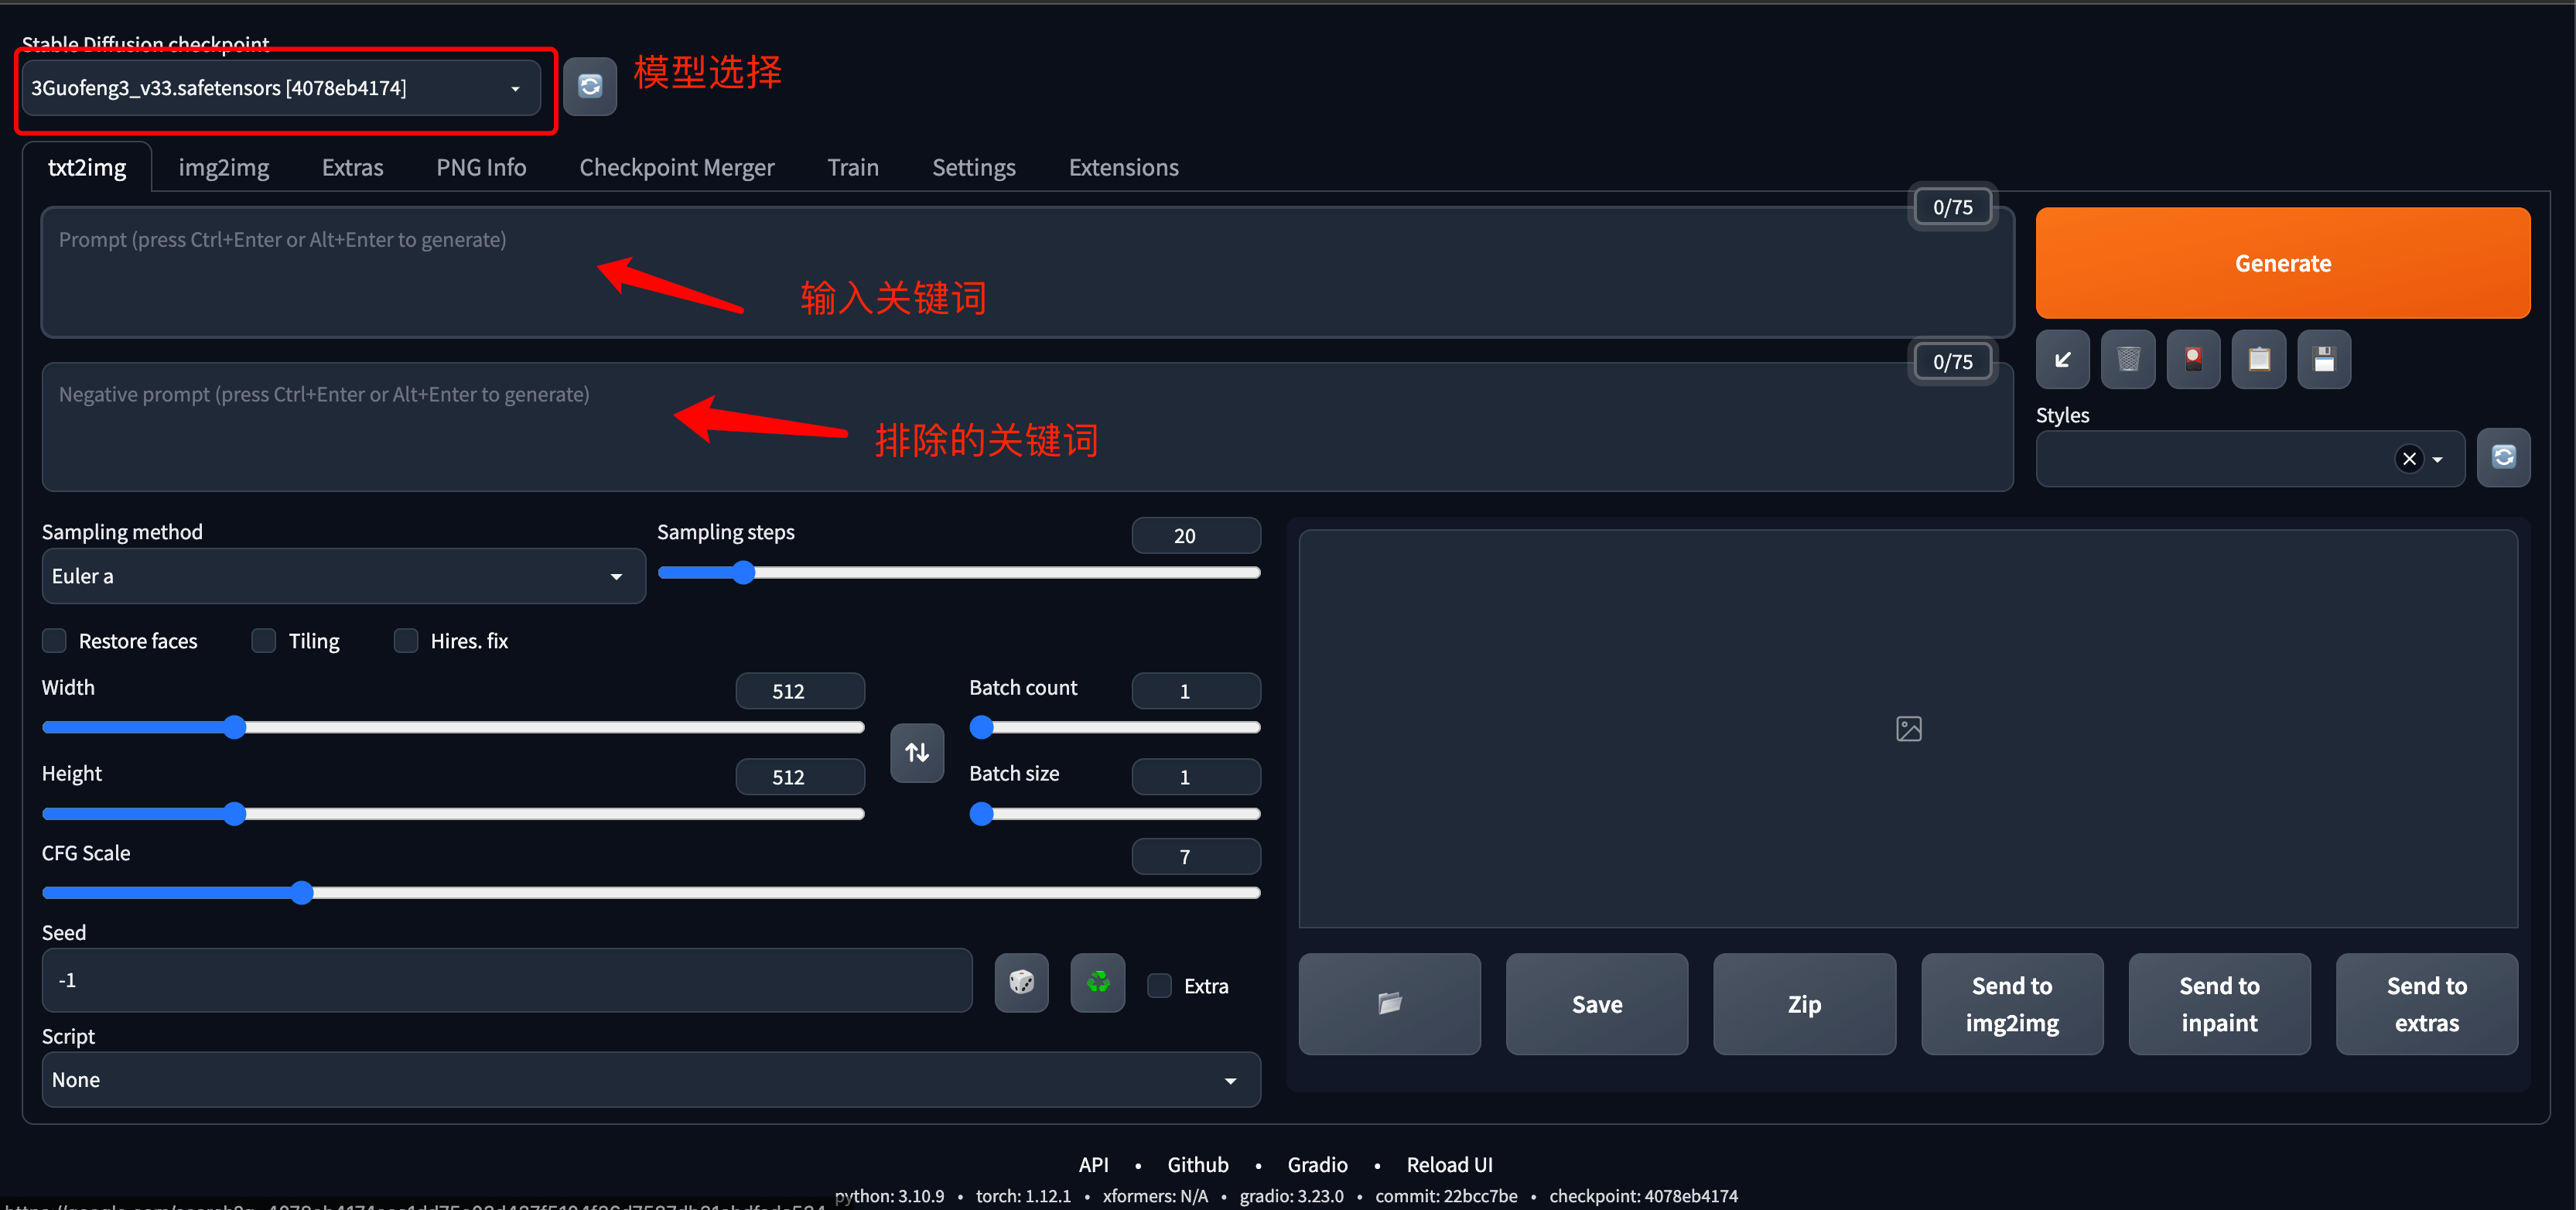
Note: If the installation gets stuck, it’s likely due to problems downloading Github source code. You can use some Github mirrors to resolve this. Currently, there are no very stable mirrors; it’s recommended to search on Google. I used the following mirror address https://hub.fgit.ml on April 6, 2023. Open the launch.py file in the stable-diffusion-webui directory and replace the Github address in the following part of the code (around lines 230-240):

Introduction to Civitai
Section titled “Introduction to Civitai”Civitai has many customized models that can be downloaded for free. We’ll use the Guofeng3 model for testing. Download address: https://civitai.com/models/10415/3-guofeng3?modelVersionId=36644
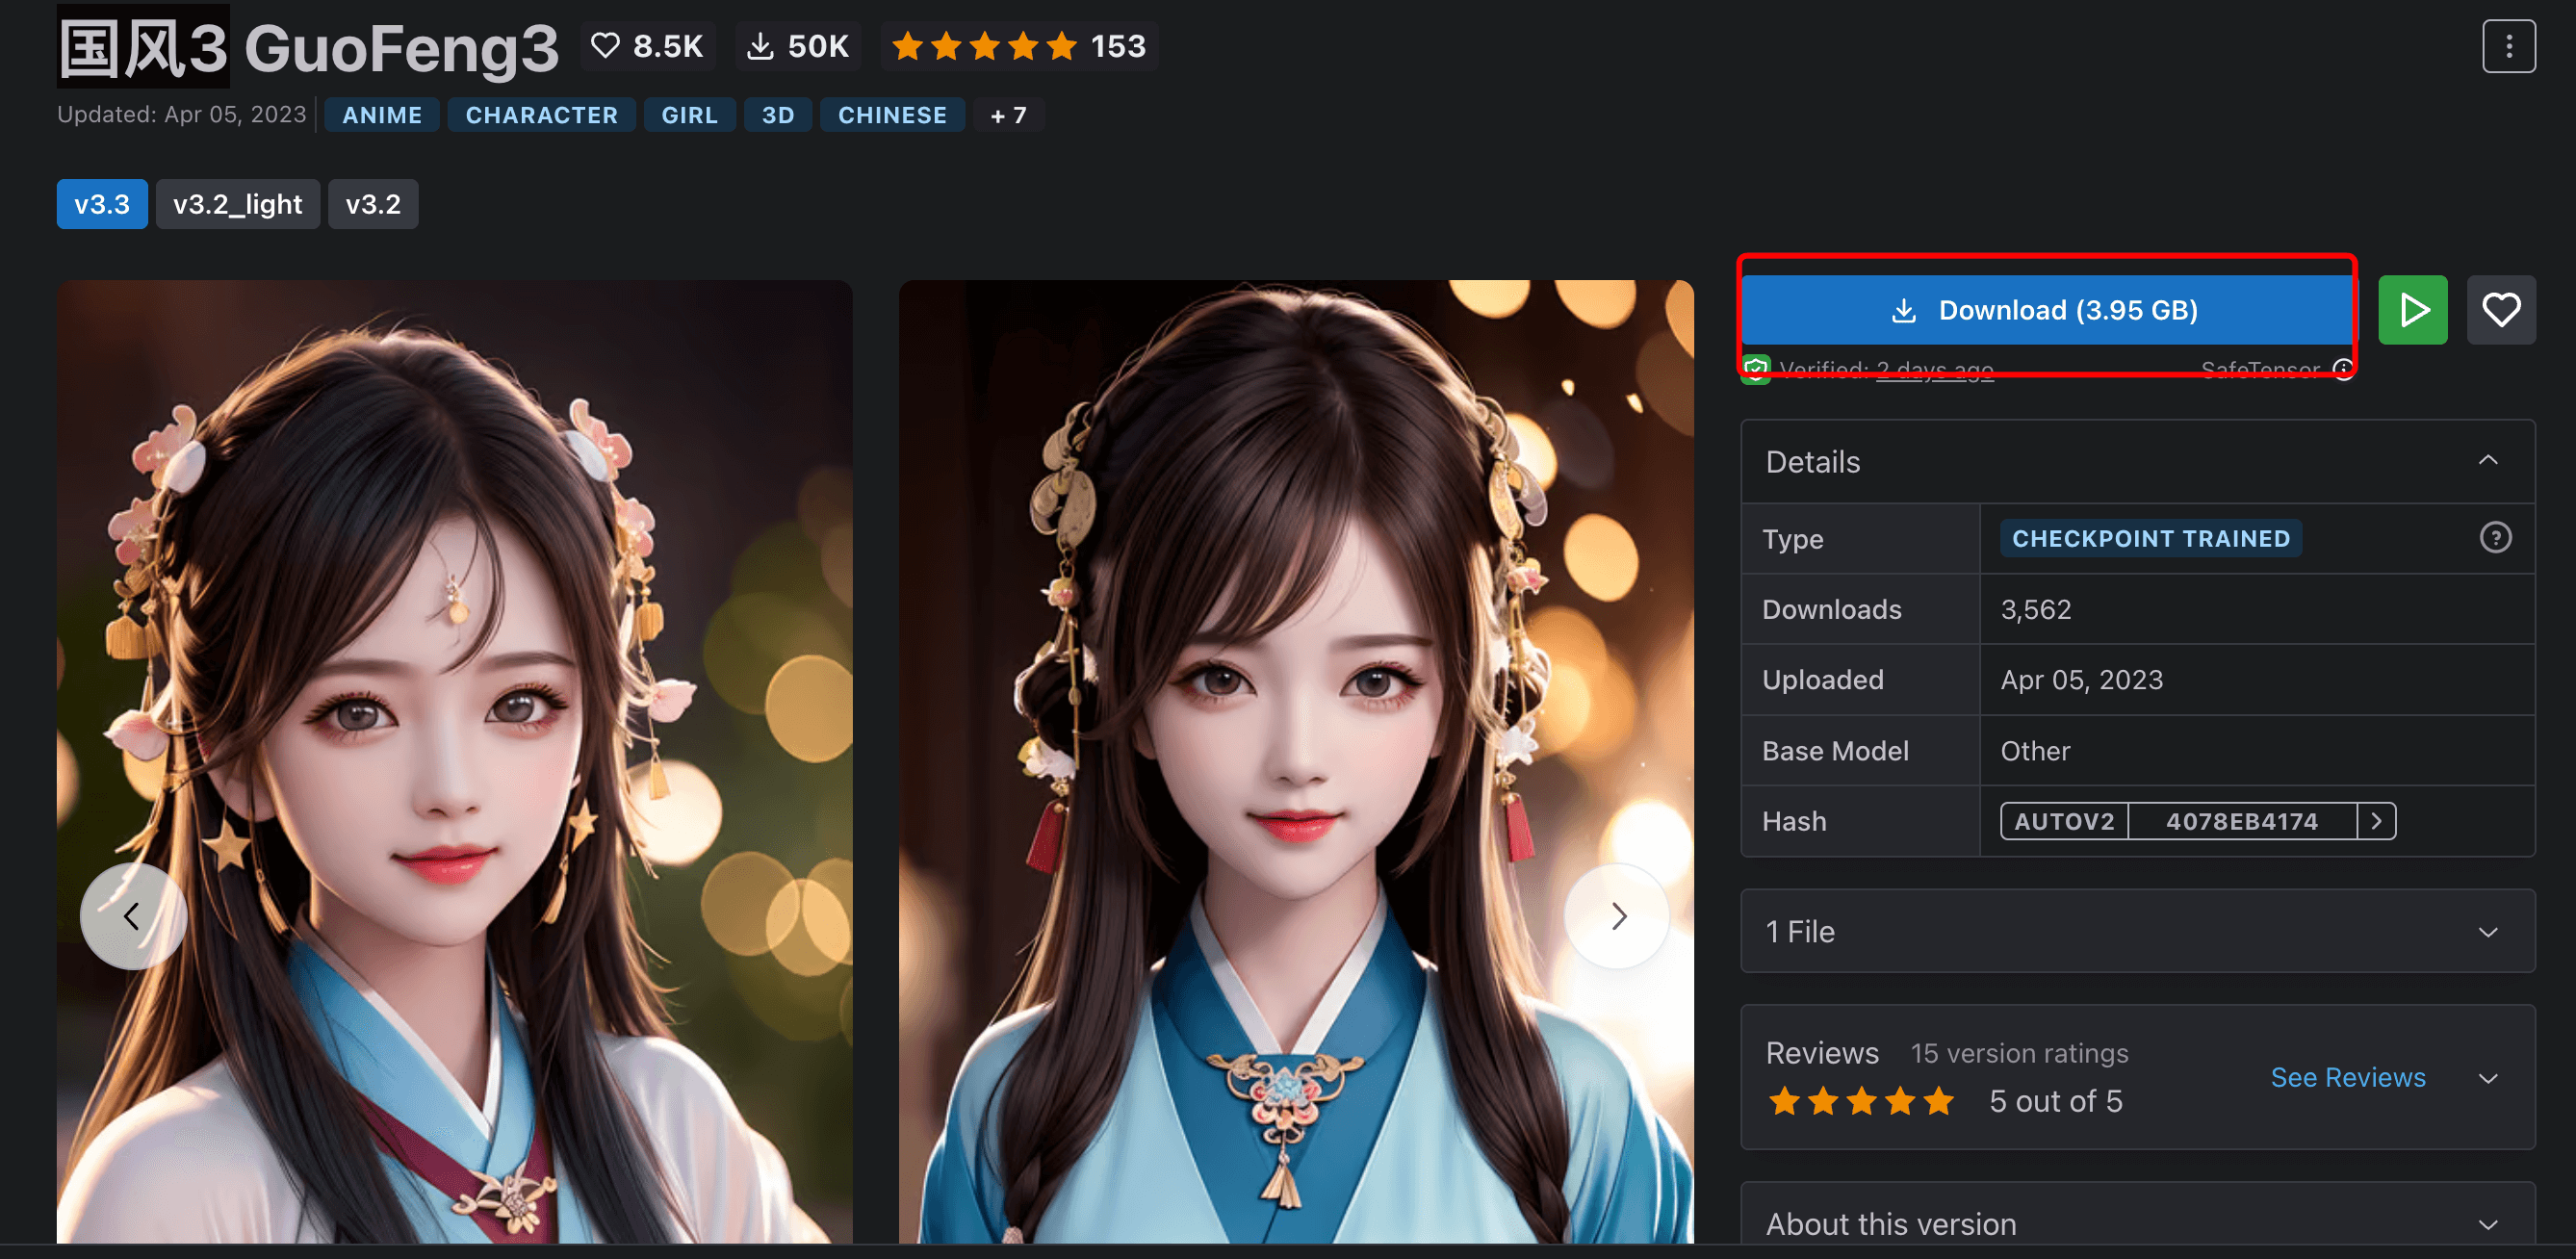
After downloading, move the model to the stable-diffusion-webui/models/Stable-diffusion directory and restart stable-diffusion-webui:
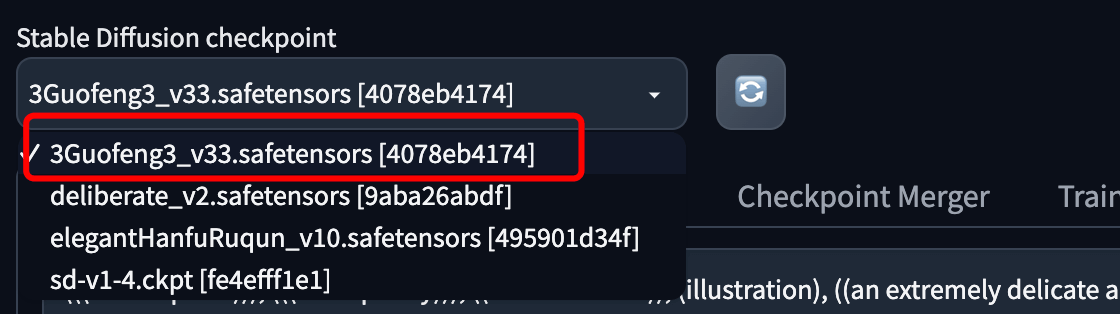
This way, you can select the Guofeng3 model from the model list:
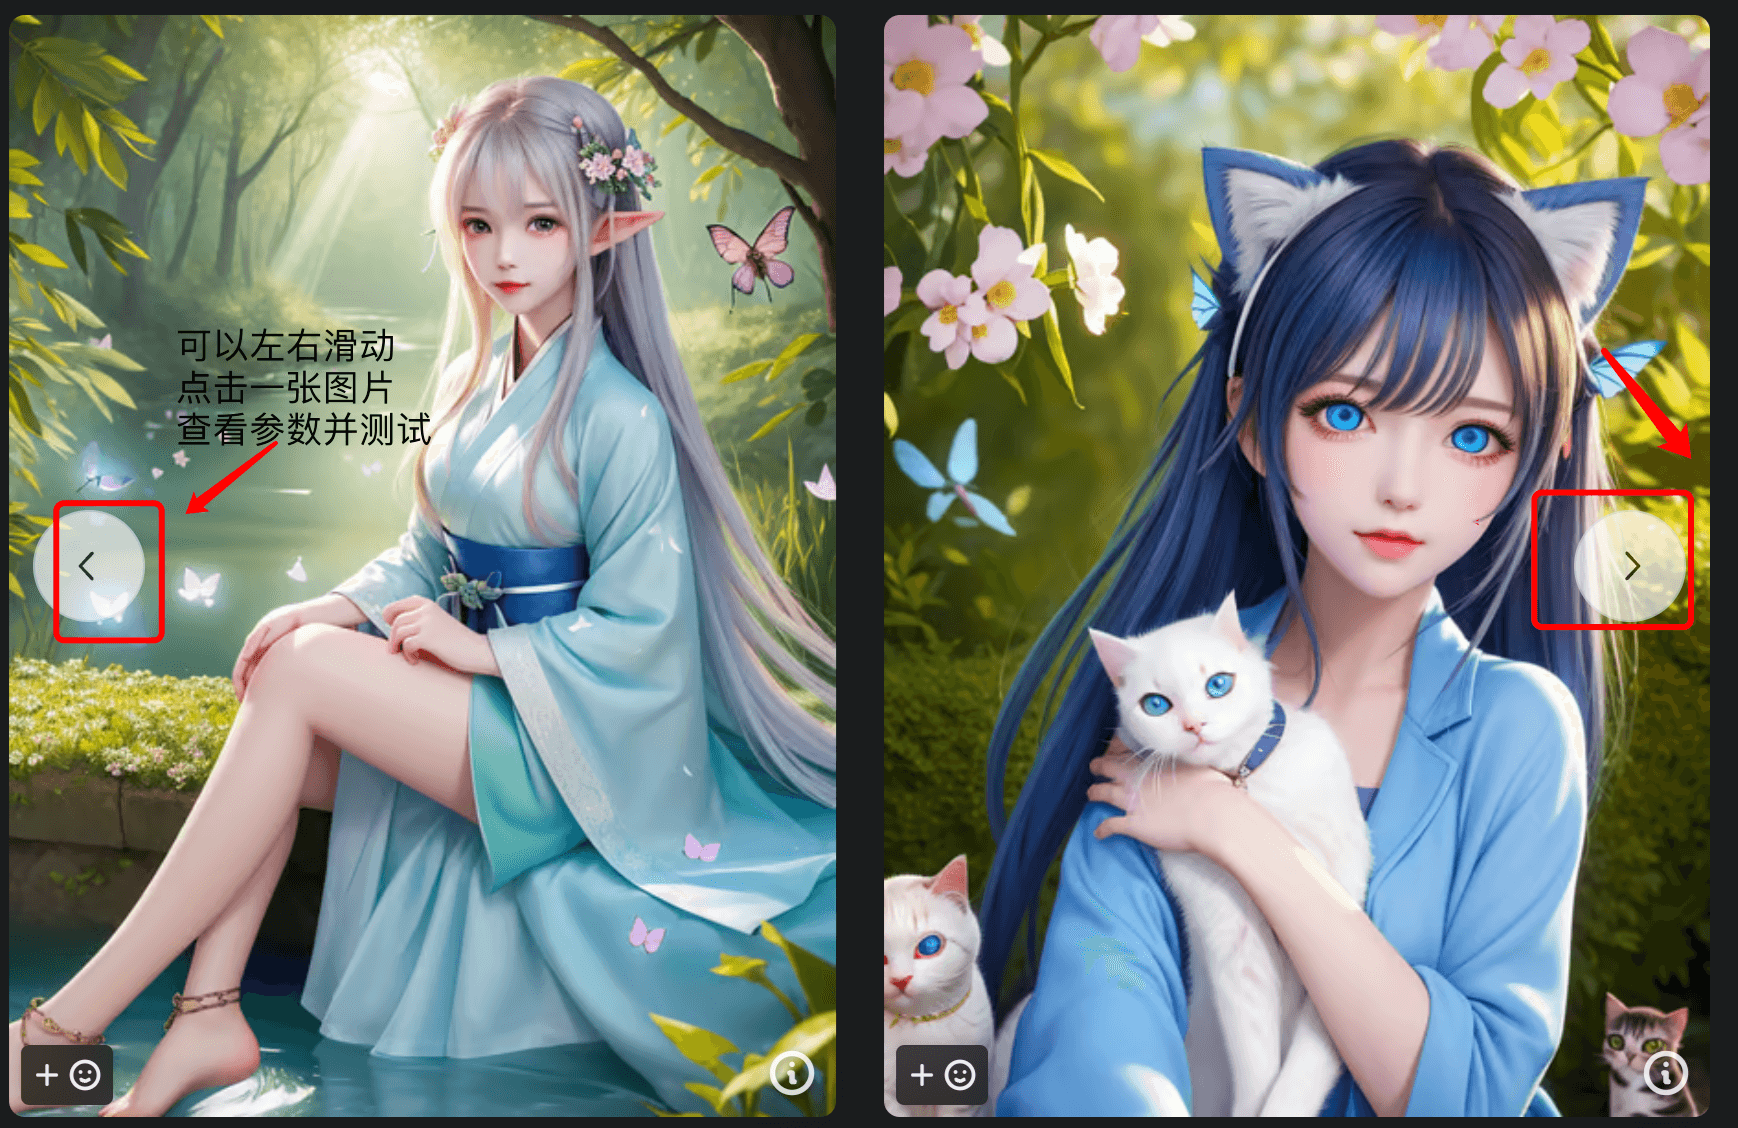
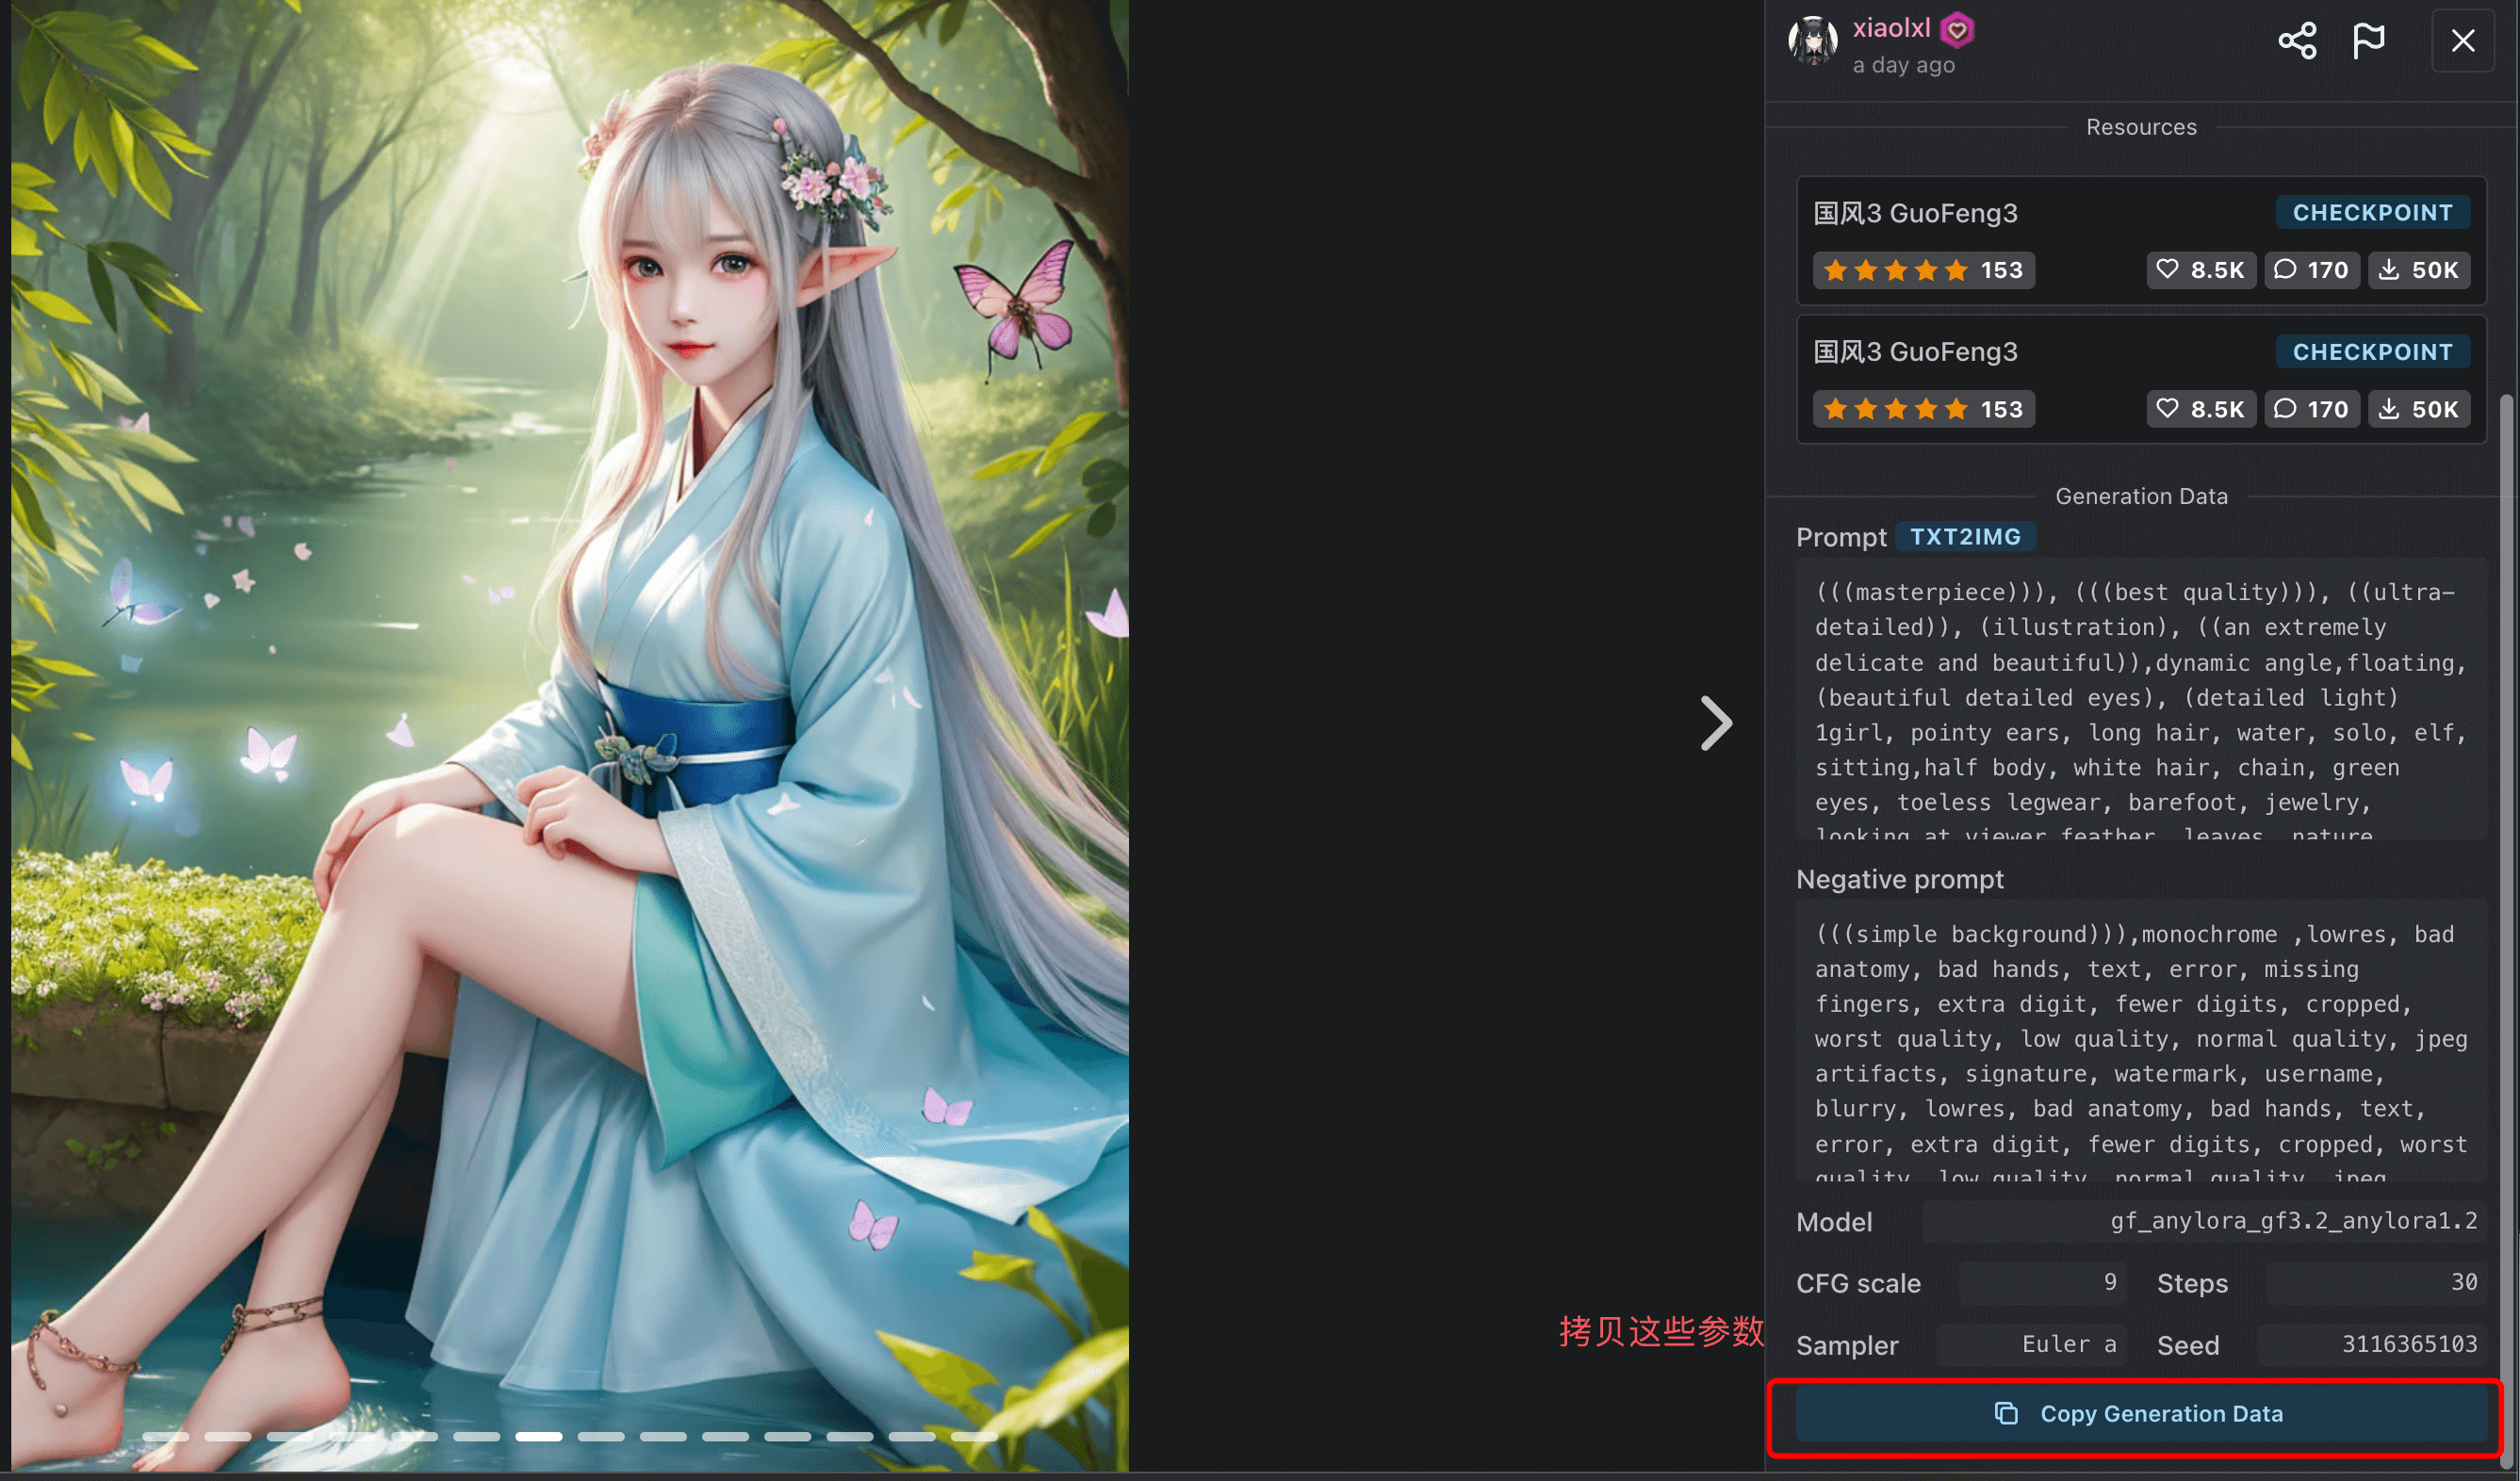
After selecting, you can go to the model introduction page to copy some prompts and test parameters:
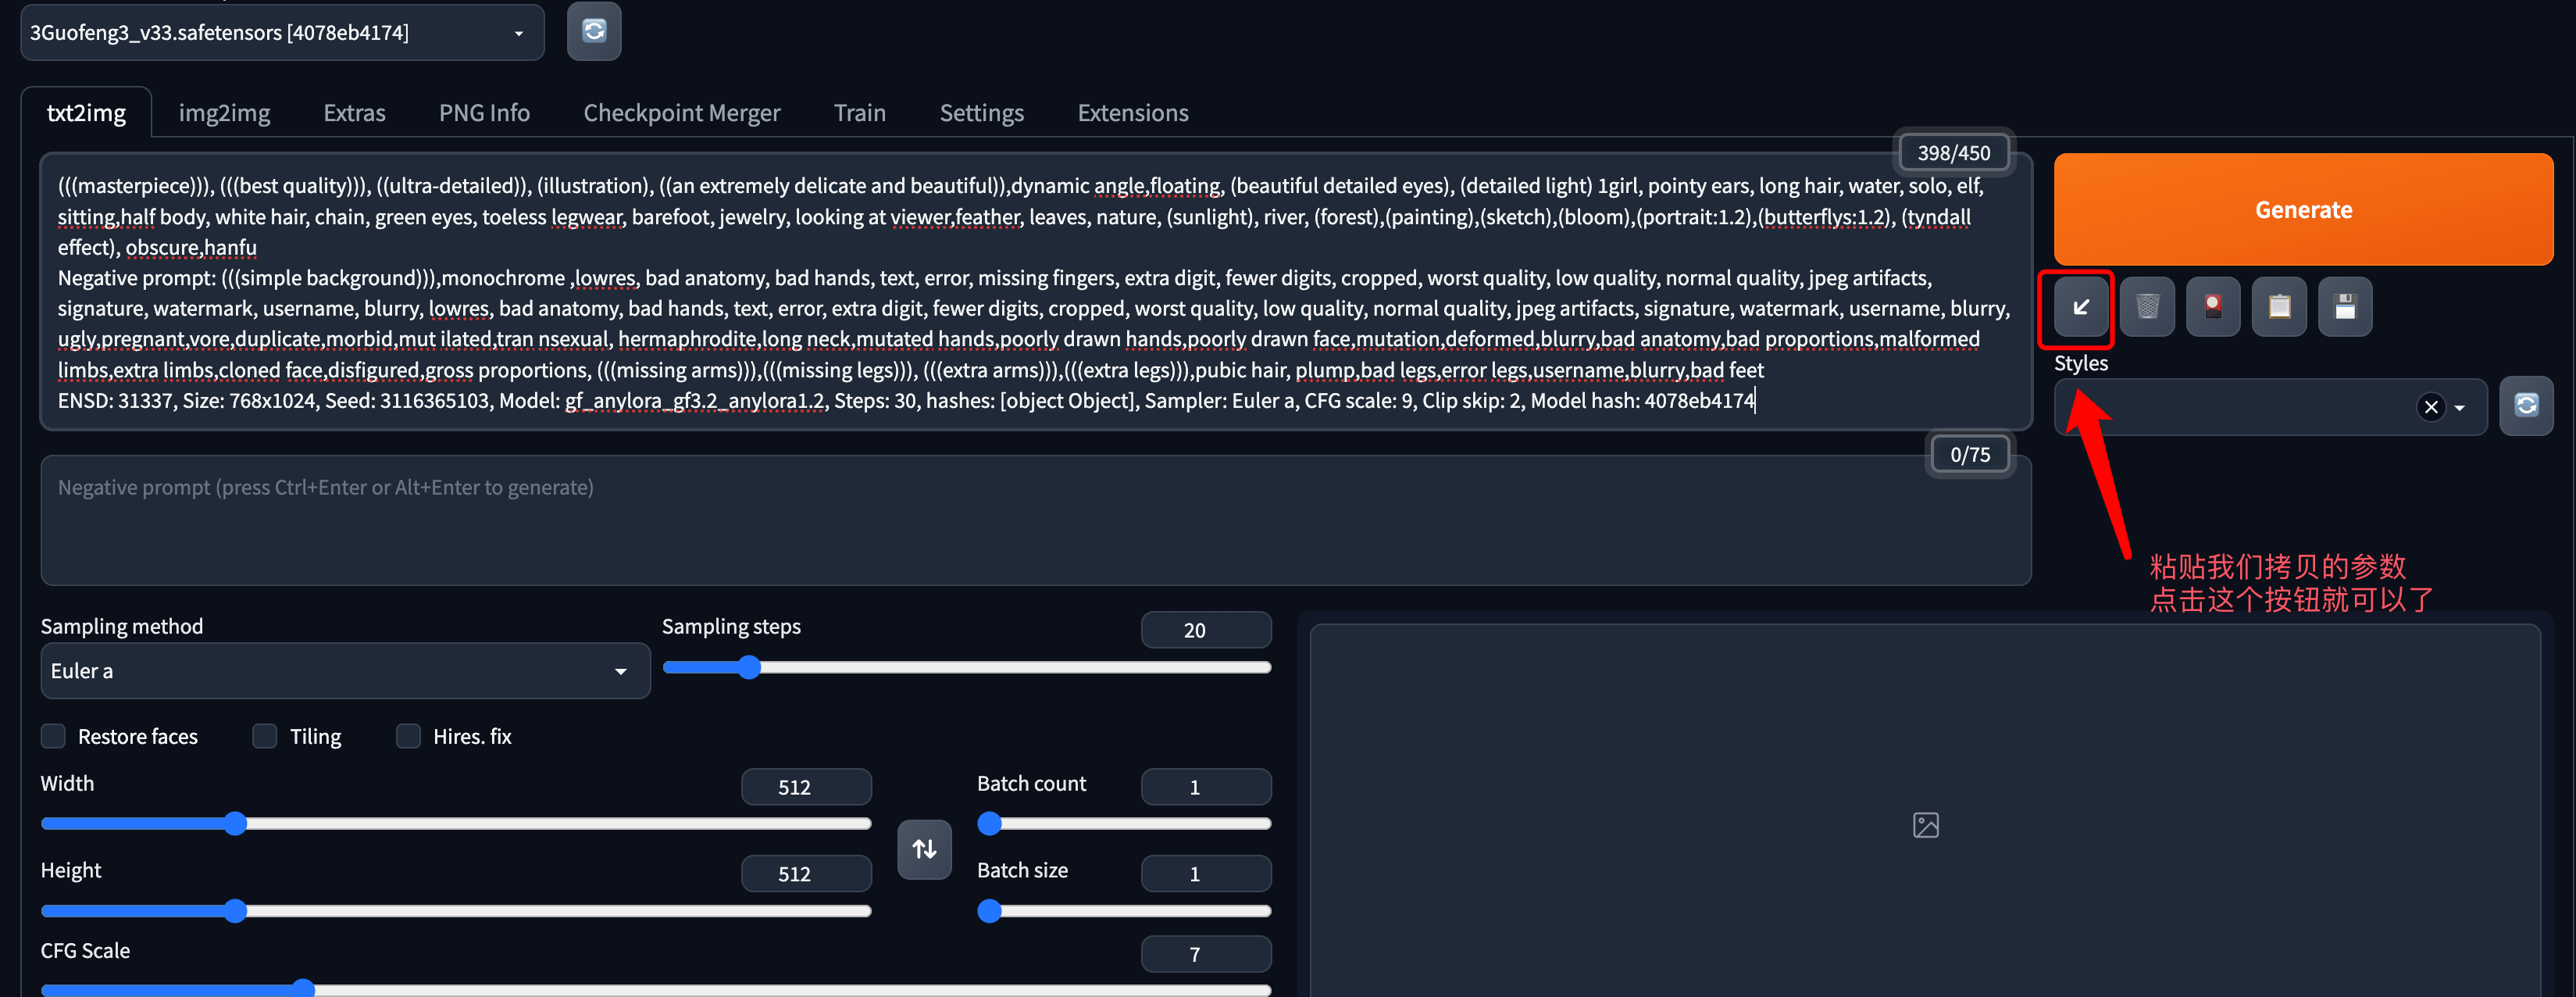
To generate quickly, I halved both the height and width, then clicked the generate button:
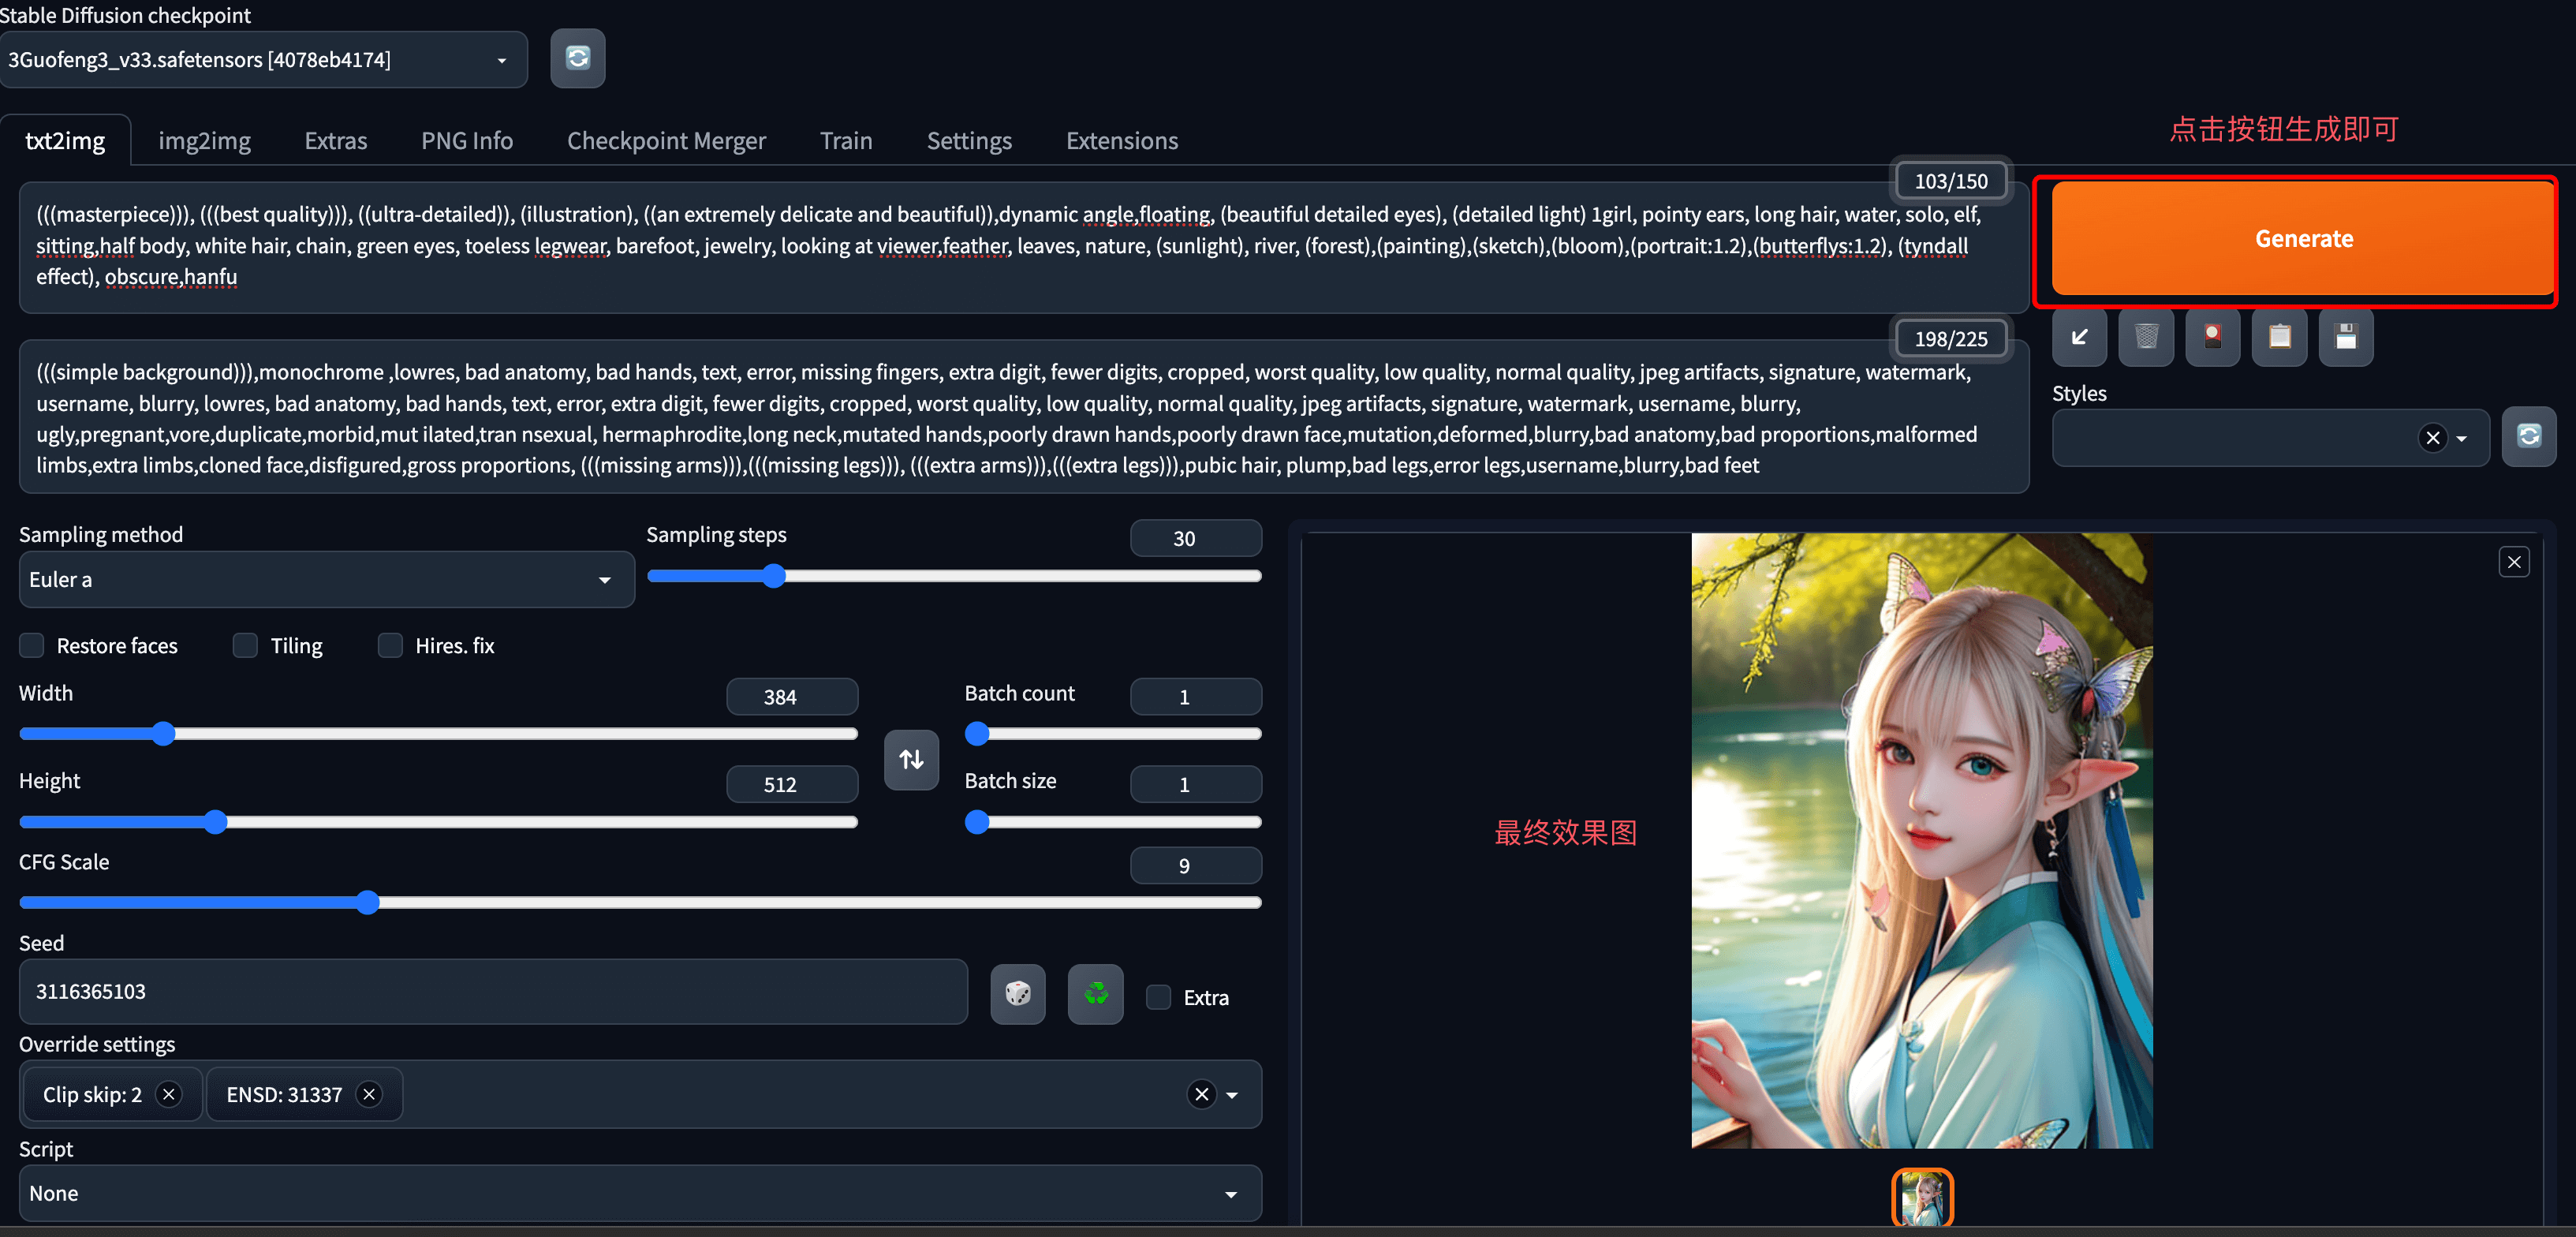
For the complete generation process, you can follow our WeChat video channel to view: